

 Image 1 of 1
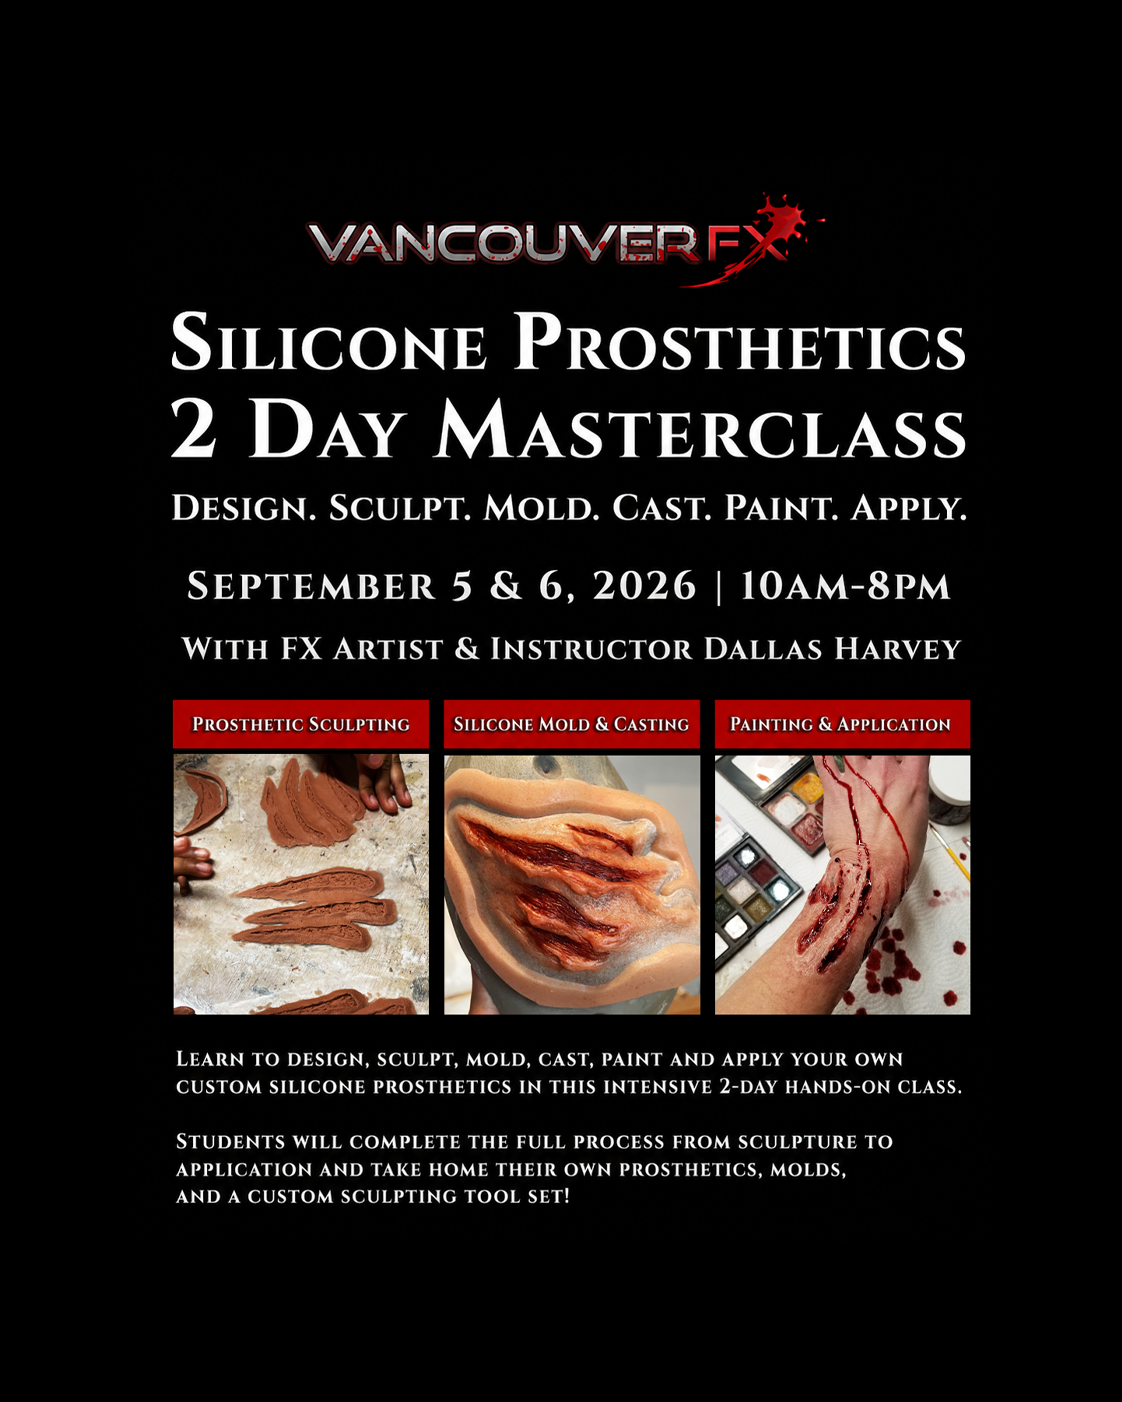
2-Day Silicone Prosthetics Masterclass (Click Image For Details)
Design, Sculpt, Mold, Cast, Paint and Apply Your Own Professional Silicone Prosthetics
Beginner and intermediate artists welcome. No previous silicone prosthetics experience required.
Dates: Saturday, September 5 & Sunday, September 6, 2026
Times: 10:00 AM–8:00 PM each day
Format: Two 10-hour training days with a one-hour lunch break
Instruction: Approximately 18 hours of professional, hands-on training
Instructor: TV & Film Industry FX Artist Dallas Harvey
Take your special effects makeup skills to the next level in this intensive two-day silicone prosthetics class taught by professional film and television FX artist Dallas Harvey.
Students will learn the complete professional process of creating silicone prosthetics and reusable silicone flat molds—from initial concept and clay sculpture through mold making, silicone casting, painting and final makeup application.
Working inside a professional FX studio environment, each student will design and sculpt a custom collection of approximately four to five prosthetic pieces. These may include realistic wounds, medical effects, horror injuries, fantasy features or original character designs.
Students will then create their own silicone flat molds, cast professional encapsulated silicone prosthetics, prepaint their finished pieces and apply selected prosthetics using professional makeup products and film-industry techniques.
This is not a demonstration-only class. Students will complete each stage themselves and leave with their own molds, silicone prosthetics, finished makeup photographs and a custom set of DHFX Studio sculpting tools.
Day One: Silicone Fundamentals, Concept Design and Prosthetic Sculpture
FX Lab Safety and Product Information
Learn how to work safely and professionally inside an FX laboratory.
Topics include:
Studio organization and safe working practices
Product information and material handling
Personal protective equipment
Ventilation and respiratory protection
Safe cleanup and disposal procedures
Understanding the materials used throughout the prosthetic process
Prosthetic Concept Design and Mold Planning
Learn how to develop an idea that can be successfully transformed into a wearable silicone prosthetic.
Students will explore:
Designing prosthetics for film, television and photography
Choosing appropriate shapes, sizes and prosthetic locations
Planning realistic wounds and medical effects
Developing horror, fantasy and character designs
Designing pieces with application and movement in mind
Planning sculptures for efficient flat-mold production
Understanding placement, blending edges and mold boundaries
Professional Sculpting Tools
Discover the different types of sculpting tools used by professional prosthetic artists and when to use them.
Students will learn how to work with:
Wire loop tools
Rake tools
Texture tools
Dental tools
Silicone-tipped tools
Custom texture stamps
Skin texture and pore tools
Solvents and smoothing materials
Sculpting Prosthetics in Clay
Dallas Harvey will demonstrate a variety of professional sculpting methods used to create convincing prosthetic effects in clay.
Demonstrations may include:
Cuts and lacerations
Burns and damaged skin
Swelling and trauma
Medical conditions
Horror wounds
Fantasy textures and features
Organic character details
Torn, stretched and irregular skin edges
Students will then design and sculpt approximately four to five original prosthetic pieces of their own creation.
The Professional Sculpting Process
Work through each stage of a prosthetic sculpture—from the first rough shape to the final film-quality surface detail.
Students will learn:
Blocking out primary forms
Establishing depth and anatomy
Refining shapes and transitions
Creating thin, professional blending edges
Building believable skin damage and organic forms
Adding wrinkles, pores and skin texture
Smoothing and correcting the sculpture
Avoiding common sculpting and molding problems
Preparing a finished sculpture for close-up photography and HD cameras
Throughout the process, students will receive individual guidance, professional tips and practical problem-solving advice.
Mold Setup and Preparation
Once the sculptures are complete, students will learn how to properly prepare them for silicone flat-mold production.
Topics include:
Cleaning and inspecting finished sculptures
Creating mold walls and containment systems
Planning mold thickness and support
Preventing undercuts and trapped air
Applying appropriate release agents
Preparing the work area for silicone
Calculating material quantities
Setting up multiple sculptures for efficient molding
Day Two: Silicone Flat Molds, Casting, Painting and Application
Silicone Flat-Mold Making
Students will prepare, mix and pour silicone over their completed sculptures to create a reusable set of approximately four to five professional prosthetic flat molds.
Students will learn:
Selecting the correct mold-making silicone
Measuring materials accurately
Mixing silicone safely and consistently
Brushing and pouring silicone
Reducing bubbles and surface defects
Controlling mold thickness
Creating strong, flexible and reusable molds
Recognizing and preventing common mold failures
Demolding and Mold Cleanup
Once the molds have cured, students will learn how to safely remove the original clay sculptures and prepare the molds for casting.
Topics include:
Safe demolding procedures
Removing clay without damaging fine detail
Cleaning silicone molds
Trimming and correcting mold edges
Inspecting molds for defects
Repairing minor imperfections
Preparing molds for encapsulated silicone casting
Proper mold storage and care
Encapsulation Techniques
Learn the first stage of creating a professional encapsulated, or “gel-filled,” silicone prosthetic with extremely thin, blendable edges.
Students will learn:
Encapsulating plastic products and their properties
Product and laboratory safety
Mixing and reducing encapsulating materials
Spraying, brushing and layering techniques
Building consistent encapsulation layers
Creating thin professional blending edges
Preparing encapsulated molds for silicone filling
Preventing wrinkles, tears and weak edges
Silicone Mixing, Tinting and Casting
Explore the different types of silicone used to create high-quality prosthetic makeup appliances.
Students will learn:
Choosing the correct silicone system
Understanding silicone ratios and cure times
Softening silicone for realistic movement
Measuring and mixing materials accurately
Creating realistic base skin tones
Tinting silicone for different complexions
Developing fantasy and horror colors
Creating bruising, blood and tissue undertones
Avoiding air bubbles and incomplete casts
Filling encapsulated molds
Students will then cast their own collection of custom silicone prosthetics using the molds they created.
Demolding the Finished Prosthetics
Students will carefully remove their cured prosthetics and prepare them for painting and application.
This section covers:
Removing silicone appliances without damaging the edges
Powdering and protecting encapsulated prosthetics
Trimming excess material
Inspecting pieces for casting defects
Organizing and storing finished appliances
Preparing prosthetics for pre-painting
Pre-painting Silicone Prosthetics
Learn how professional FX artists pre-paint silicone prosthetics before application.
Students will work with professional-quality FX paints and makeup products to create:
Natural skin tones
Mottling and subtle color variation
Capillaries and vascular detail
Bruising and trauma
Burns and damaged tissue
Blood and internal tissue tones
Fantasy and creature coloration
Translucent, layered effects
The class will also cover color matching, paint transparency, layering and maintaining the natural depth of silicone.
Professional Prosthetic Application and Blending
Students will select several of their custom silicone prosthetics and apply them to themselves.
Application training includes:
Preparing and cleaning the skin
Choosing professional prosthetic adhesives
Positioning the appliance correctly
Securing the center before the edges
Dissolving and blending encapsulated edges
Correcting lifting or damaged edges
Color matching the prosthetic to the surrounding skin
Painting across the prosthetic and natural skin
Adding blood, gloss, texture and finishing details
Safe removal and skin cleanup
Final Silicone Prosthetic Makeup
Students will complete and photograph their final silicone prosthetic makeup effects.
The finished work can be used for:
Professional portfolios
Makeup and FX school applications
Social media content
Film and television makeup portfolios
Personal project development
Demonstrating practical FX skills to potential clients or employers
What Students Will Create
During the two-day class, each student will work toward completing:
Four to five original prosthetic sculptures
A reusable set of silicone prosthetic flat molds
Multiple encapsulated silicone prosthetic appliances
Professionally pre-painted silicone prosthetics
Several completed prosthetic makeup applications
Portfolio photographs of their finished work
Students will also gain a repeatable professional workflow they can continue using for future prosthetic projects.
Bonus Take-Home Tool Set
Every student will receive a custom set of DHFX Studio prosthetic sculpting tools.
The tools will be used throughout the class and belong to the student afterward, allowing them to continue developing their sculpting and prosthetic-making skills at home.
Who This Class Is For
This intensive is ideal for:
Special effects makeup artists
Makeup artists expanding into prosthetics
Film students and independent filmmakers
Cosplay and creature artists
Sculptors and prop makers
Horror and fantasy artists
Creative professionals building an FX portfolio
Artists interested in professional silicone mold making
Beginners seeking a structured introduction to silicone prosthetics
Intermediate artists looking to improve their techniques and workflow
The course is designed to combine clear demonstrations with extensive hands-on practice. Limited enrollment allows students to receive direct guidance throughout the sculpting, molding, casting and application process.
Materials and Safety Requirements
All professional prosthetic materials, silicones, clays, encapsulating products, paints, adhesives and general class supplies are provided.
For health and safety, every student must provide and bring their own:
Properly fitted organic vapor respirator with appropriate cartridges
Students will not be permitted to participate in processes requiring respiratory protection without their respirator.
Students should also wear comfortable studio clothing and closed-toe shoes. Some materials and pigments used during the class may permanently stain clothing.
Learn the Complete Silicone Prosthetic Process
Many classes focus on only one stage of prosthetic creation. This intensive teaches the full workflow:
Concept → Sculpture → Mold → Encapsulation → Silicone Casting → Painting → Application
By the end of the weekend, students will understand how professional silicone prosthetics are designed and produced from start to finish—and will have their own molds, appliances, tools and finished makeup work to show for it.
Limited Class Capacity
Silicone prosthetic creation requires detailed, individualized instruction. Class capacity is limited to provide students with meaningful access to the instructor and hands-on support throughout the weekend.
Reserve your seat early to avoid missing this intensive professional training opportunity.
Design, Sculpt, Mold, Cast, Paint and Apply Your Own Professional Silicone Prosthetics
Beginner and intermediate artists welcome. No previous silicone prosthetics experience required.
Dates: Saturday, September 5 & Sunday, September 6, 2026
Times: 10:00 AM–8:00 PM each day
Format: Two 10-hour training days with a one-hour lunch break
Instruction: Approximately 18 hours of professional, hands-on training
Instructor: TV & Film Industry FX Artist Dallas Harvey
Take your special effects makeup skills to the next level in this intensive two-day silicone prosthetics class taught by professional film and television FX artist Dallas Harvey.
Students will learn the complete professional process of creating silicone prosthetics and reusable silicone flat molds—from initial concept and clay sculpture through mold making, silicone casting, painting and final makeup application.
Working inside a professional FX studio environment, each student will design and sculpt a custom collection of approximately four to five prosthetic pieces. These may include realistic wounds, medical effects, horror injuries, fantasy features or original character designs.
Students will then create their own silicone flat molds, cast professional encapsulated silicone prosthetics, prepaint their finished pieces and apply selected prosthetics using professional makeup products and film-industry techniques.
This is not a demonstration-only class. Students will complete each stage themselves and leave with their own molds, silicone prosthetics, finished makeup photographs and a custom set of DHFX Studio sculpting tools.
Day One: Silicone Fundamentals, Concept Design and Prosthetic Sculpture
FX Lab Safety and Product Information
Learn how to work safely and professionally inside an FX laboratory.
Topics include:
Studio organization and safe working practices
Product information and material handling
Personal protective equipment
Ventilation and respiratory protection
Safe cleanup and disposal procedures
Understanding the materials used throughout the prosthetic process
Prosthetic Concept Design and Mold Planning
Learn how to develop an idea that can be successfully transformed into a wearable silicone prosthetic.
Students will explore:
Designing prosthetics for film, television and photography
Choosing appropriate shapes, sizes and prosthetic locations
Planning realistic wounds and medical effects
Developing horror, fantasy and character designs
Designing pieces with application and movement in mind
Planning sculptures for efficient flat-mold production
Understanding placement, blending edges and mold boundaries
Professional Sculpting Tools
Discover the different types of sculpting tools used by professional prosthetic artists and when to use them.
Students will learn how to work with:
Wire loop tools
Rake tools
Texture tools
Dental tools
Silicone-tipped tools
Custom texture stamps
Skin texture and pore tools
Solvents and smoothing materials
Sculpting Prosthetics in Clay
Dallas Harvey will demonstrate a variety of professional sculpting methods used to create convincing prosthetic effects in clay.
Demonstrations may include:
Cuts and lacerations
Burns and damaged skin
Swelling and trauma
Medical conditions
Horror wounds
Fantasy textures and features
Organic character details
Torn, stretched and irregular skin edges
Students will then design and sculpt approximately four to five original prosthetic pieces of their own creation.
The Professional Sculpting Process
Work through each stage of a prosthetic sculpture—from the first rough shape to the final film-quality surface detail.
Students will learn:
Blocking out primary forms
Establishing depth and anatomy
Refining shapes and transitions
Creating thin, professional blending edges
Building believable skin damage and organic forms
Adding wrinkles, pores and skin texture
Smoothing and correcting the sculpture
Avoiding common sculpting and molding problems
Preparing a finished sculpture for close-up photography and HD cameras
Throughout the process, students will receive individual guidance, professional tips and practical problem-solving advice.
Mold Setup and Preparation
Once the sculptures are complete, students will learn how to properly prepare them for silicone flat-mold production.
Topics include:
Cleaning and inspecting finished sculptures
Creating mold walls and containment systems
Planning mold thickness and support
Preventing undercuts and trapped air
Applying appropriate release agents
Preparing the work area for silicone
Calculating material quantities
Setting up multiple sculptures for efficient molding
Day Two: Silicone Flat Molds, Casting, Painting and Application
Silicone Flat-Mold Making
Students will prepare, mix and pour silicone over their completed sculptures to create a reusable set of approximately four to five professional prosthetic flat molds.
Students will learn:
Selecting the correct mold-making silicone
Measuring materials accurately
Mixing silicone safely and consistently
Brushing and pouring silicone
Reducing bubbles and surface defects
Controlling mold thickness
Creating strong, flexible and reusable molds
Recognizing and preventing common mold failures
Demolding and Mold Cleanup
Once the molds have cured, students will learn how to safely remove the original clay sculptures and prepare the molds for casting.
Topics include:
Safe demolding procedures
Removing clay without damaging fine detail
Cleaning silicone molds
Trimming and correcting mold edges
Inspecting molds for defects
Repairing minor imperfections
Preparing molds for encapsulated silicone casting
Proper mold storage and care
Encapsulation Techniques
Learn the first stage of creating a professional encapsulated, or “gel-filled,” silicone prosthetic with extremely thin, blendable edges.
Students will learn:
Encapsulating plastic products and their properties
Product and laboratory safety
Mixing and reducing encapsulating materials
Spraying, brushing and layering techniques
Building consistent encapsulation layers
Creating thin professional blending edges
Preparing encapsulated molds for silicone filling
Preventing wrinkles, tears and weak edges
Silicone Mixing, Tinting and Casting
Explore the different types of silicone used to create high-quality prosthetic makeup appliances.
Students will learn:
Choosing the correct silicone system
Understanding silicone ratios and cure times
Softening silicone for realistic movement
Measuring and mixing materials accurately
Creating realistic base skin tones
Tinting silicone for different complexions
Developing fantasy and horror colors
Creating bruising, blood and tissue undertones
Avoiding air bubbles and incomplete casts
Filling encapsulated molds
Students will then cast their own collection of custom silicone prosthetics using the molds they created.
Demolding the Finished Prosthetics
Students will carefully remove their cured prosthetics and prepare them for painting and application.
This section covers:
Removing silicone appliances without damaging the edges
Powdering and protecting encapsulated prosthetics
Trimming excess material
Inspecting pieces for casting defects
Organizing and storing finished appliances
Preparing prosthetics for pre-painting
Pre-painting Silicone Prosthetics
Learn how professional FX artists pre-paint silicone prosthetics before application.
Students will work with professional-quality FX paints and makeup products to create:
Natural skin tones
Mottling and subtle color variation
Capillaries and vascular detail
Bruising and trauma
Burns and damaged tissue
Blood and internal tissue tones
Fantasy and creature coloration
Translucent, layered effects
The class will also cover color matching, paint transparency, layering and maintaining the natural depth of silicone.
Professional Prosthetic Application and Blending
Students will select several of their custom silicone prosthetics and apply them to themselves.
Application training includes:
Preparing and cleaning the skin
Choosing professional prosthetic adhesives
Positioning the appliance correctly
Securing the center before the edges
Dissolving and blending encapsulated edges
Correcting lifting or damaged edges
Color matching the prosthetic to the surrounding skin
Painting across the prosthetic and natural skin
Adding blood, gloss, texture and finishing details
Safe removal and skin cleanup
Final Silicone Prosthetic Makeup
Students will complete and photograph their final silicone prosthetic makeup effects.
The finished work can be used for:
Professional portfolios
Makeup and FX school applications
Social media content
Film and television makeup portfolios
Personal project development
Demonstrating practical FX skills to potential clients or employers
What Students Will Create
During the two-day class, each student will work toward completing:
Four to five original prosthetic sculptures
A reusable set of silicone prosthetic flat molds
Multiple encapsulated silicone prosthetic appliances
Professionally pre-painted silicone prosthetics
Several completed prosthetic makeup applications
Portfolio photographs of their finished work
Students will also gain a repeatable professional workflow they can continue using for future prosthetic projects.
Bonus Take-Home Tool Set
Every student will receive a custom set of DHFX Studio prosthetic sculpting tools.
The tools will be used throughout the class and belong to the student afterward, allowing them to continue developing their sculpting and prosthetic-making skills at home.
Who This Class Is For
This intensive is ideal for:
Special effects makeup artists
Makeup artists expanding into prosthetics
Film students and independent filmmakers
Cosplay and creature artists
Sculptors and prop makers
Horror and fantasy artists
Creative professionals building an FX portfolio
Artists interested in professional silicone mold making
Beginners seeking a structured introduction to silicone prosthetics
Intermediate artists looking to improve their techniques and workflow
The course is designed to combine clear demonstrations with extensive hands-on practice. Limited enrollment allows students to receive direct guidance throughout the sculpting, molding, casting and application process.
Materials and Safety Requirements
All professional prosthetic materials, silicones, clays, encapsulating products, paints, adhesives and general class supplies are provided.
For health and safety, every student must provide and bring their own:
Properly fitted organic vapor respirator with appropriate cartridges
Students will not be permitted to participate in processes requiring respiratory protection without their respirator.
Students should also wear comfortable studio clothing and closed-toe shoes. Some materials and pigments used during the class may permanently stain clothing.
Learn the Complete Silicone Prosthetic Process
Many classes focus on only one stage of prosthetic creation. This intensive teaches the full workflow:
Concept → Sculpture → Mold → Encapsulation → Silicone Casting → Painting → Application
By the end of the weekend, students will understand how professional silicone prosthetics are designed and produced from start to finish—and will have their own molds, appliances, tools and finished makeup work to show for it.
Limited Class Capacity
Silicone prosthetic creation requires detailed, individualized instruction. Class capacity is limited to provide students with meaningful access to the instructor and hands-on support throughout the weekend.
Reserve your seat early to avoid missing this intensive professional training opportunity.